Training an anime colorizer (Part 1)
Intro
For the past few months, I’ve been building and training an anime colorizer on and off, and I wanted to document my personal learnings and journey so far. I originally decided to build this after feeling visually exhausted while reading the Jujutsu Kaisen manga. At a certain point, I couldn’t follow what was going on due to a wall of black lines. I’ve also tested out how other AI manga/anime colorizers out there and they have always been disappointing and they always cherry picked the best images to show on the marketing page. I thought, if we can generate fully colorized images, it must be possible to build an anime colorizer. I also figured it would be a good learning experience to try to fine-tune my own model with the latest research.
Goals and limitations
Since I’m doing this as a hobby project and limited amount of resources I had to constrain my goals to be something reasonable. I have a few thousand dollars aws credits that I want to utilize but don’t want to go over. Since my compute was going to be my main limitation I need to make sure the model would be small enough to train and to break down the problem in to simpler pieces. My first goal is to create a simple model that can colorize a 512x512 image. If I am having trouble I want to explore making the problem easier like adding color hints and reference images.
Dataset
The first step was to figure out how to get a dataset of paired colorized and un-colorized images. My initial idea was to find a manga dataset worth exploring, but after some searching, I realized there wasn’t a large enough dataset that was well-organized and easy to use. Next, I considered downloading colorized vs. un-colorized manga pairs to create my own dataset, but that was also difficult without a systematic approach. Eventually, I decided to remove colors from colored images to create better pairs. I also realized that anime, rather than manga, has far more data readily available, so I planned to take screenshots of anime images and convert them into colorized sketches, allowing for a large number of pairings.
I then had to decide how to convert the images into sketches. I looked at some models like Anime2Sketch (https://github.com/Mukosame/Anime2Sketch) and simpler techniques like edge detection. I found that edge detection produced fairly comparable results to models specifically designed for sketch conversion, with the advantage of being much faster.
Machine Setup
Next, I needed to choose a tech stack and training environment. Initially, I tried training on my M3 MacBook Pro since I had a limited budget. While it ran, training was ultimately too slow, and a dedicated GPU proved a much better solution, plus I had some AWS credits left. I also had to choose the tech stack, and PyTorch was the clear choice. Although I considered fastai and other libraries, I ultimately opted to keep things simple with PyTorch, PyTorch Lightning, TensorBoard, and Jupyter Notebook. My final setup involved using an EC2 instance, connecting via SSH, and setting up an SSH tunnel to work on Jupyter Notebook. This setup process took about 4-5 days, largely due to compatibility issues with libraries, NVIDIA SDKs, and OS updates. (I might have saved a day or two if I’d gone straight for AWS instead of starting on my MacBook.)
To conserve my AWS credits, I started by testing code on a non-GPU-based EC2 instance and switched to a GPU instance only when it was time to train.
Training
With the dataset and environment ready, I could start assembling a model and begin training. Coding and training a model are quite different processes: writing code is more straightforward, whereas training a new model involves experimentation and uncertainty, especially for a colorization model that few people have attempted. I aimed to strike a balance between experimenting and spending time researching, focusing on making small, consistent progress every day. My goal each day was to get a simple piece of the model working end-to-end and iterate from there.
Debugging a deep learning network is notoriously difficult, with cryptic errors, so I ensured each component was tested beforehand. Instead of creating a complex architecture and debugging spaghetti code later, I opted for small, manageable code segments.
My first milestone was a basic model that worked end-to-end. Since my compute power was limited, I started with a small pretrained model to get everything working. After some research, I chose a simple pretrained vision transformer. Consistency in color is crucial for colorization, and I hypothesized that a transformer-based architecture would work better than a stable-diffusion-based one. I started with Google’s basic vision transformer.
class Colorizer(LightningModule):
    def __init__(self):
        super().__init__() # this runs the base class's initializer before the current class
        device = torch.device("cuda" if torch.cuda.is_available() else "cpu")
        self.model = timm.create_model('vit_base_patch16_224', pretrained=True, num_classes=0)

        self.decoder = nn.Sequential(
            nn.Linear(768, 224 * 224 * 3),
            nn.Unflatten(1, (3, 224,224)),
            nn.Tanh()
        ).to(device)
        vgg_model = vgg16(weights=True)
        self.loss_fn = VGGPerceptualLoss(vgg_model, device=device)

    def forward(self, x):
        features = self.model(x)
        output = self.decoder(features)
        return output

    def configure_optimizers(self):
        self.hparams.learning_rate = 0.0001
        return torch.optim.Adam(filter(lambda p: p.requires_grad, self.parameters()), lr=self.hparams.learning_rate)

    def training_step(self, batch, batch_idx):
        inputs, targets = batch
        outputs = self(inputs)
        loss = self.loss_fn(outputs, targets)
        self.log('train_loss', loss)
        return loss
In addition to the vit_base pretrained model, I added a simple decoder and a perceptual loss function using a VGG16 model. The alternative would have been a simple MSE loss, which calculates pixel differences, but perceptual loss is more like comparing two images from a human perspective. The VGG16 model, designed for image recognition, can represent images in a way that lets us compare generated images with original colorized versions. We strip the first few layers of the model—the deeper the layer, the more abstract the representation—to produce a smaller, more abstract representation for loss comparison.
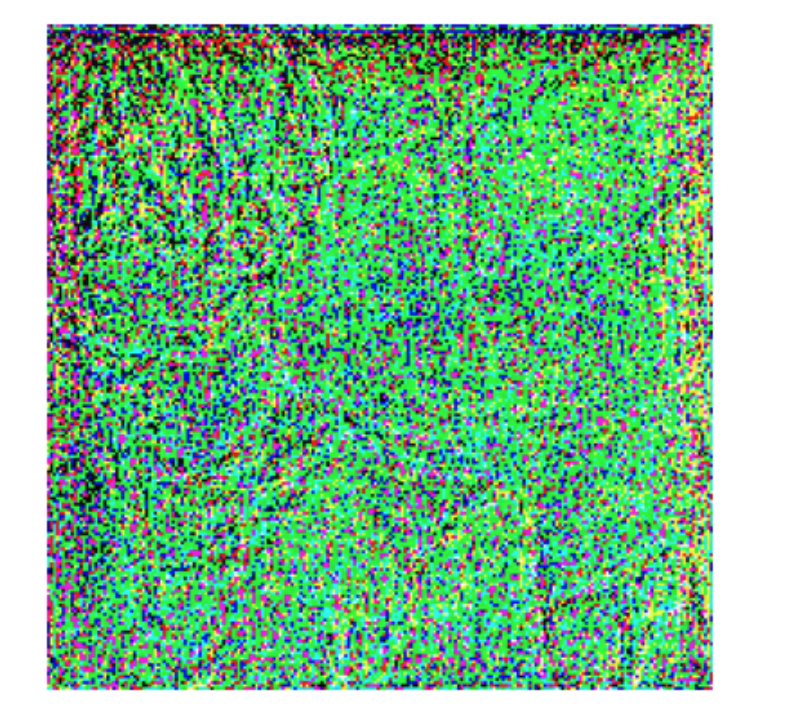
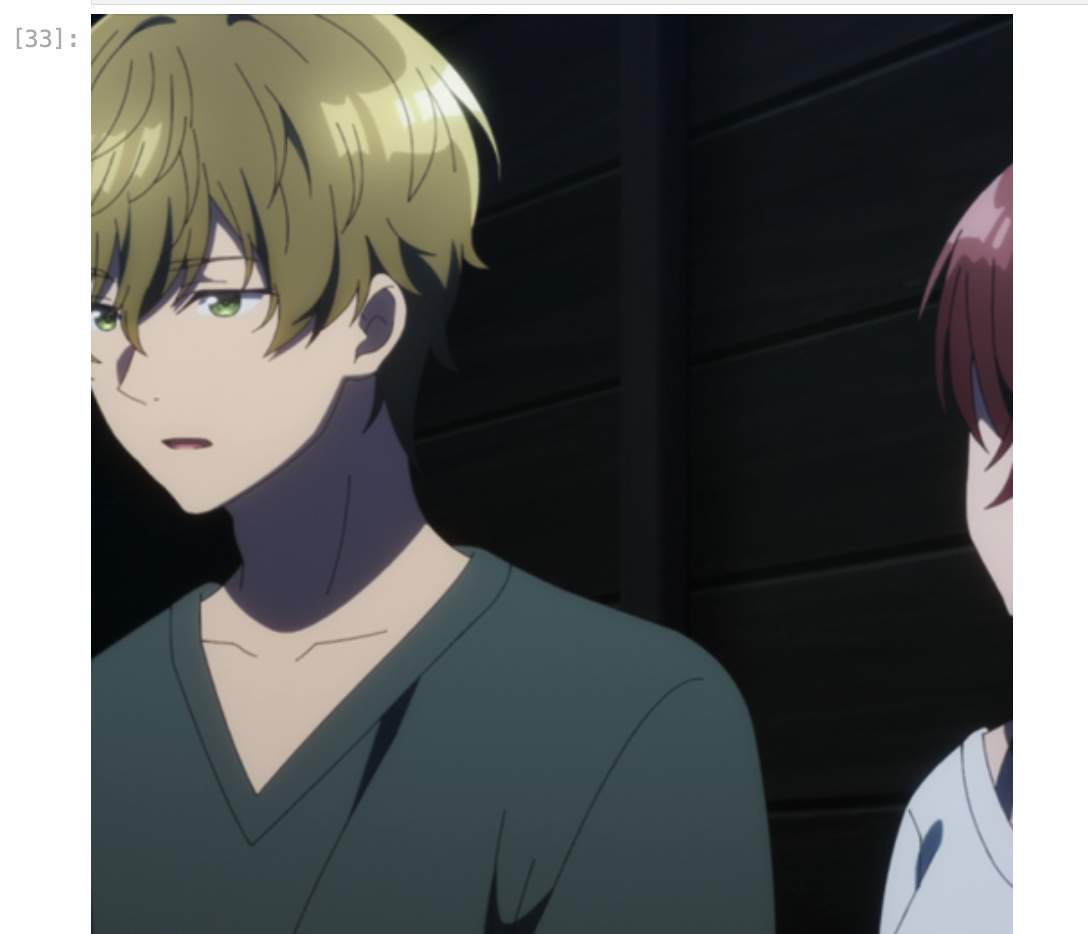
After around 30 minutes of training, some outlines started appearing, especially in the top-left corner where the hair is.
The next day, I researched more suitable pretrained models and decided to try the pretrained VAE from the stable diffusion model. A VAE (Variational Autoencoder) compresses an image into a smaller representation and then reconstructs it, encoding as much information as possible. VAEs are easy to train with readily available images. After replacing the Vision Transformer with a stable-diffusion VAE, I saw improved results.
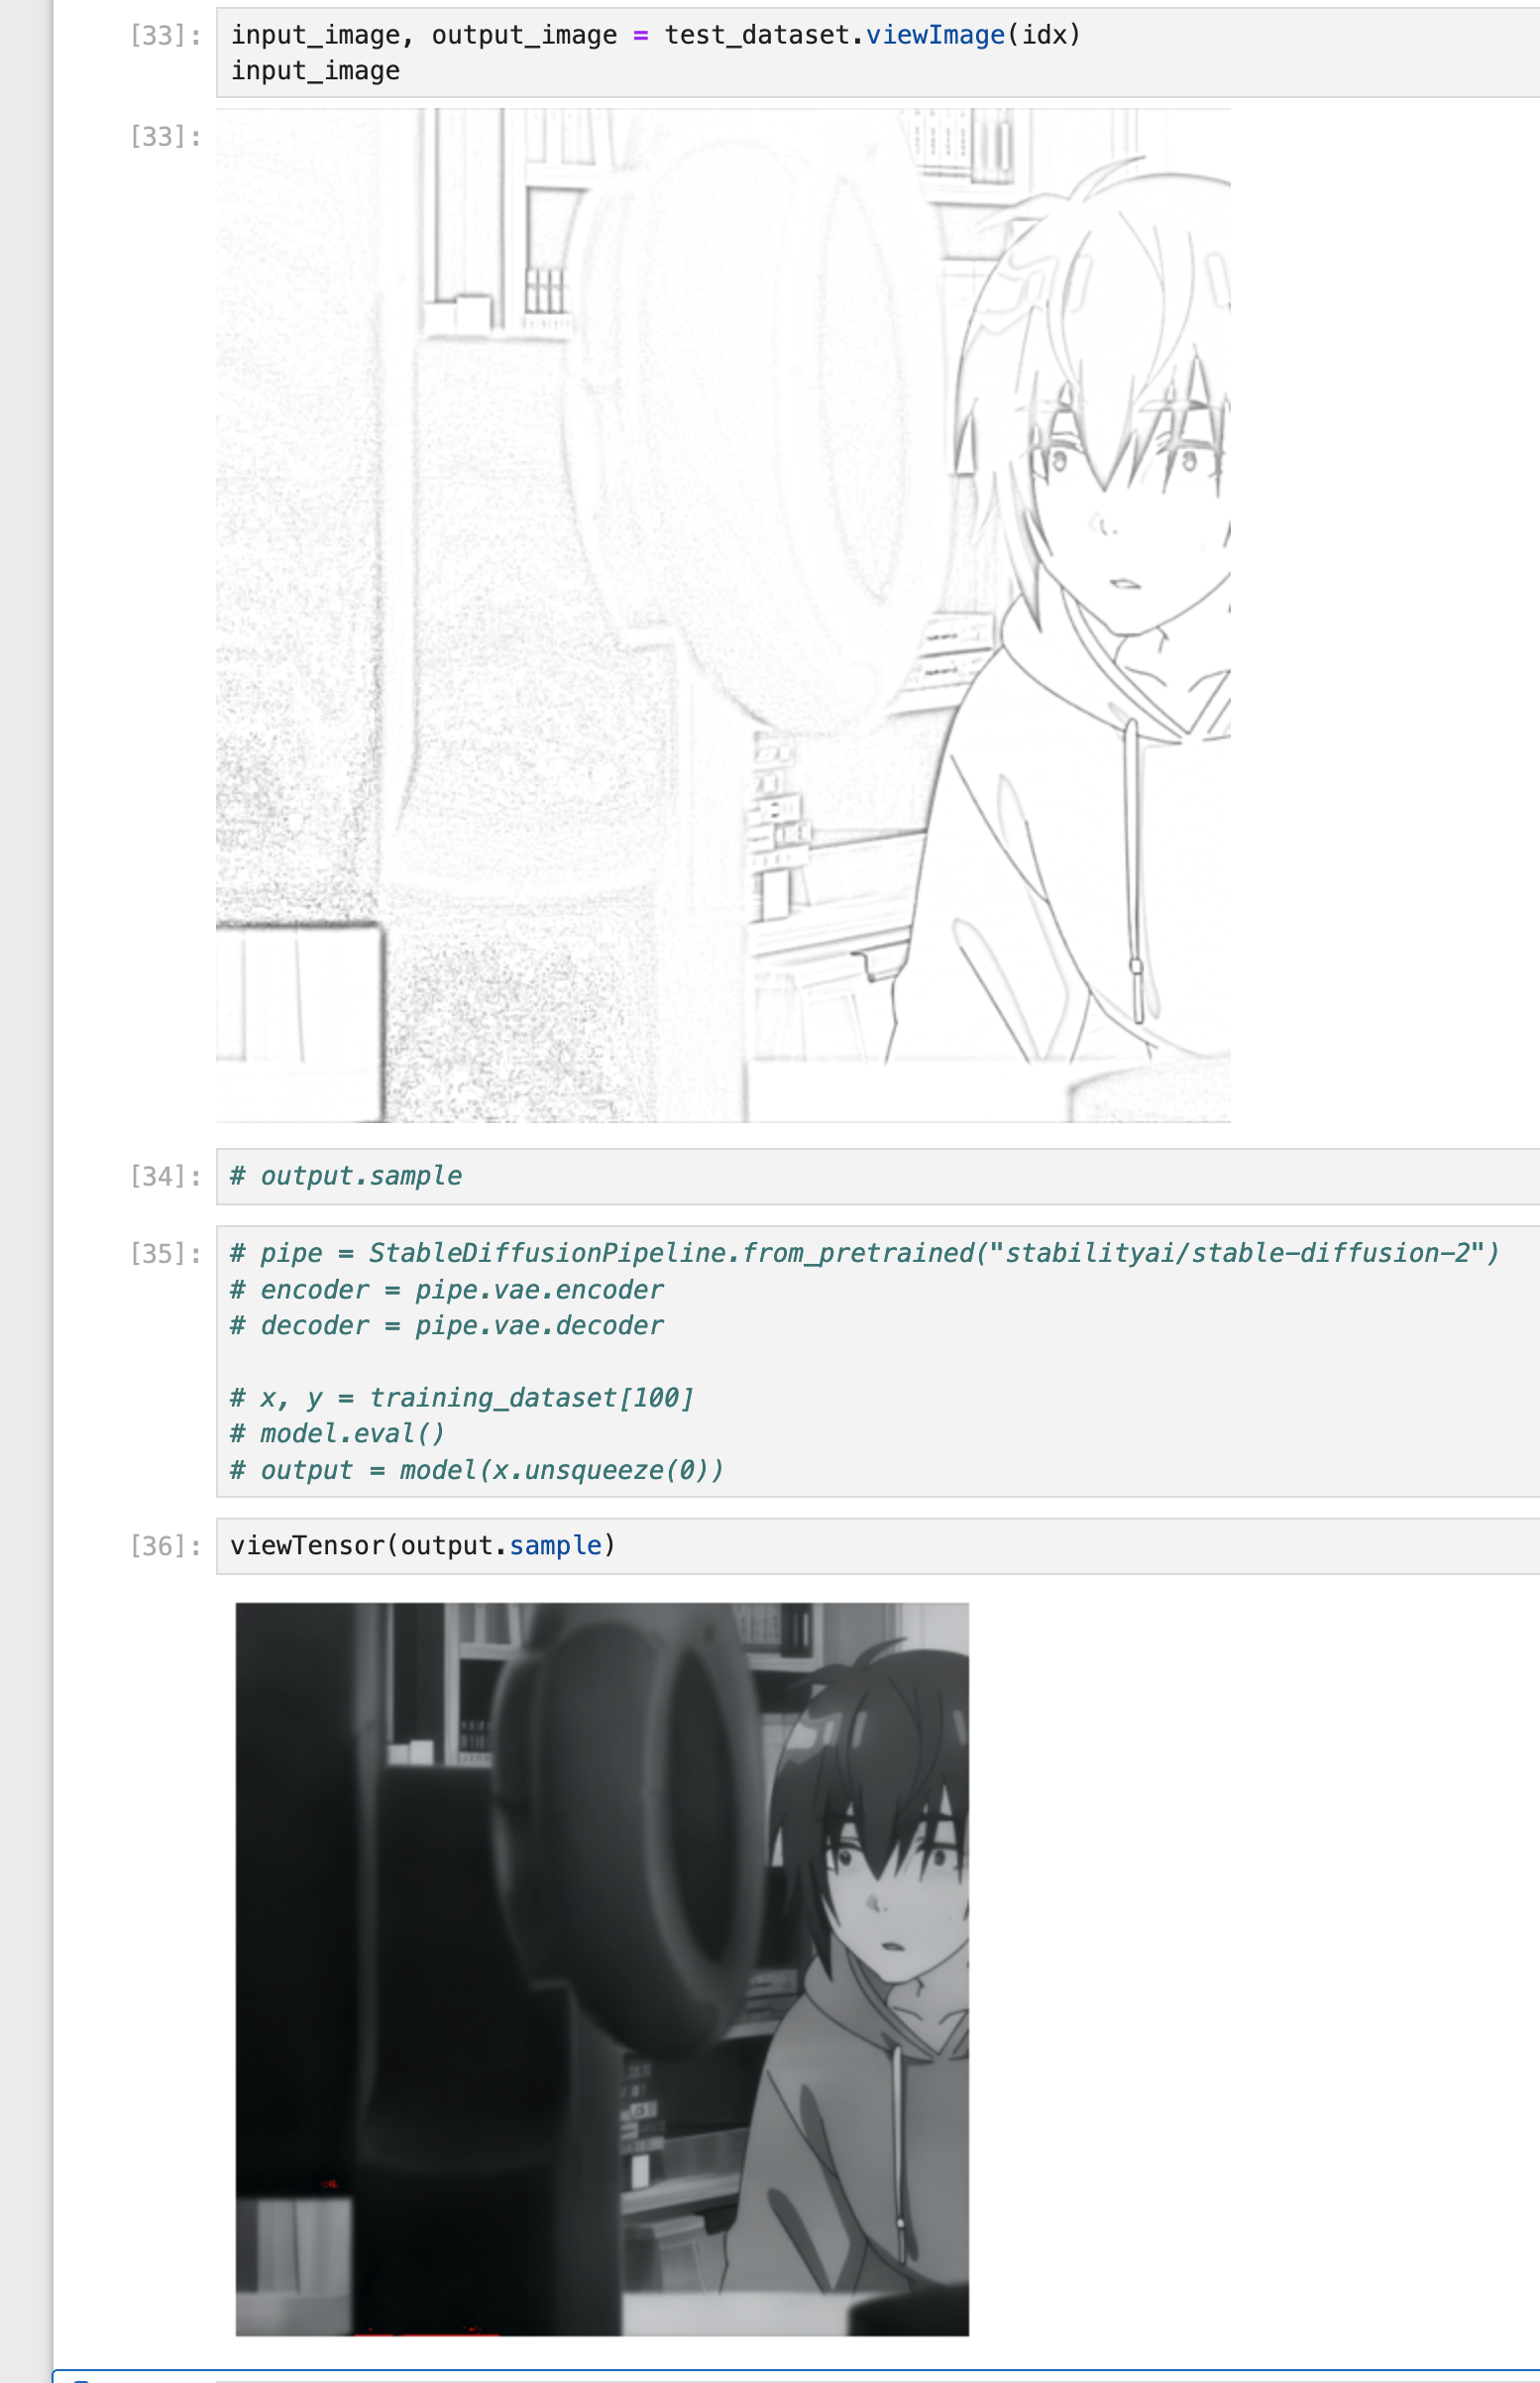
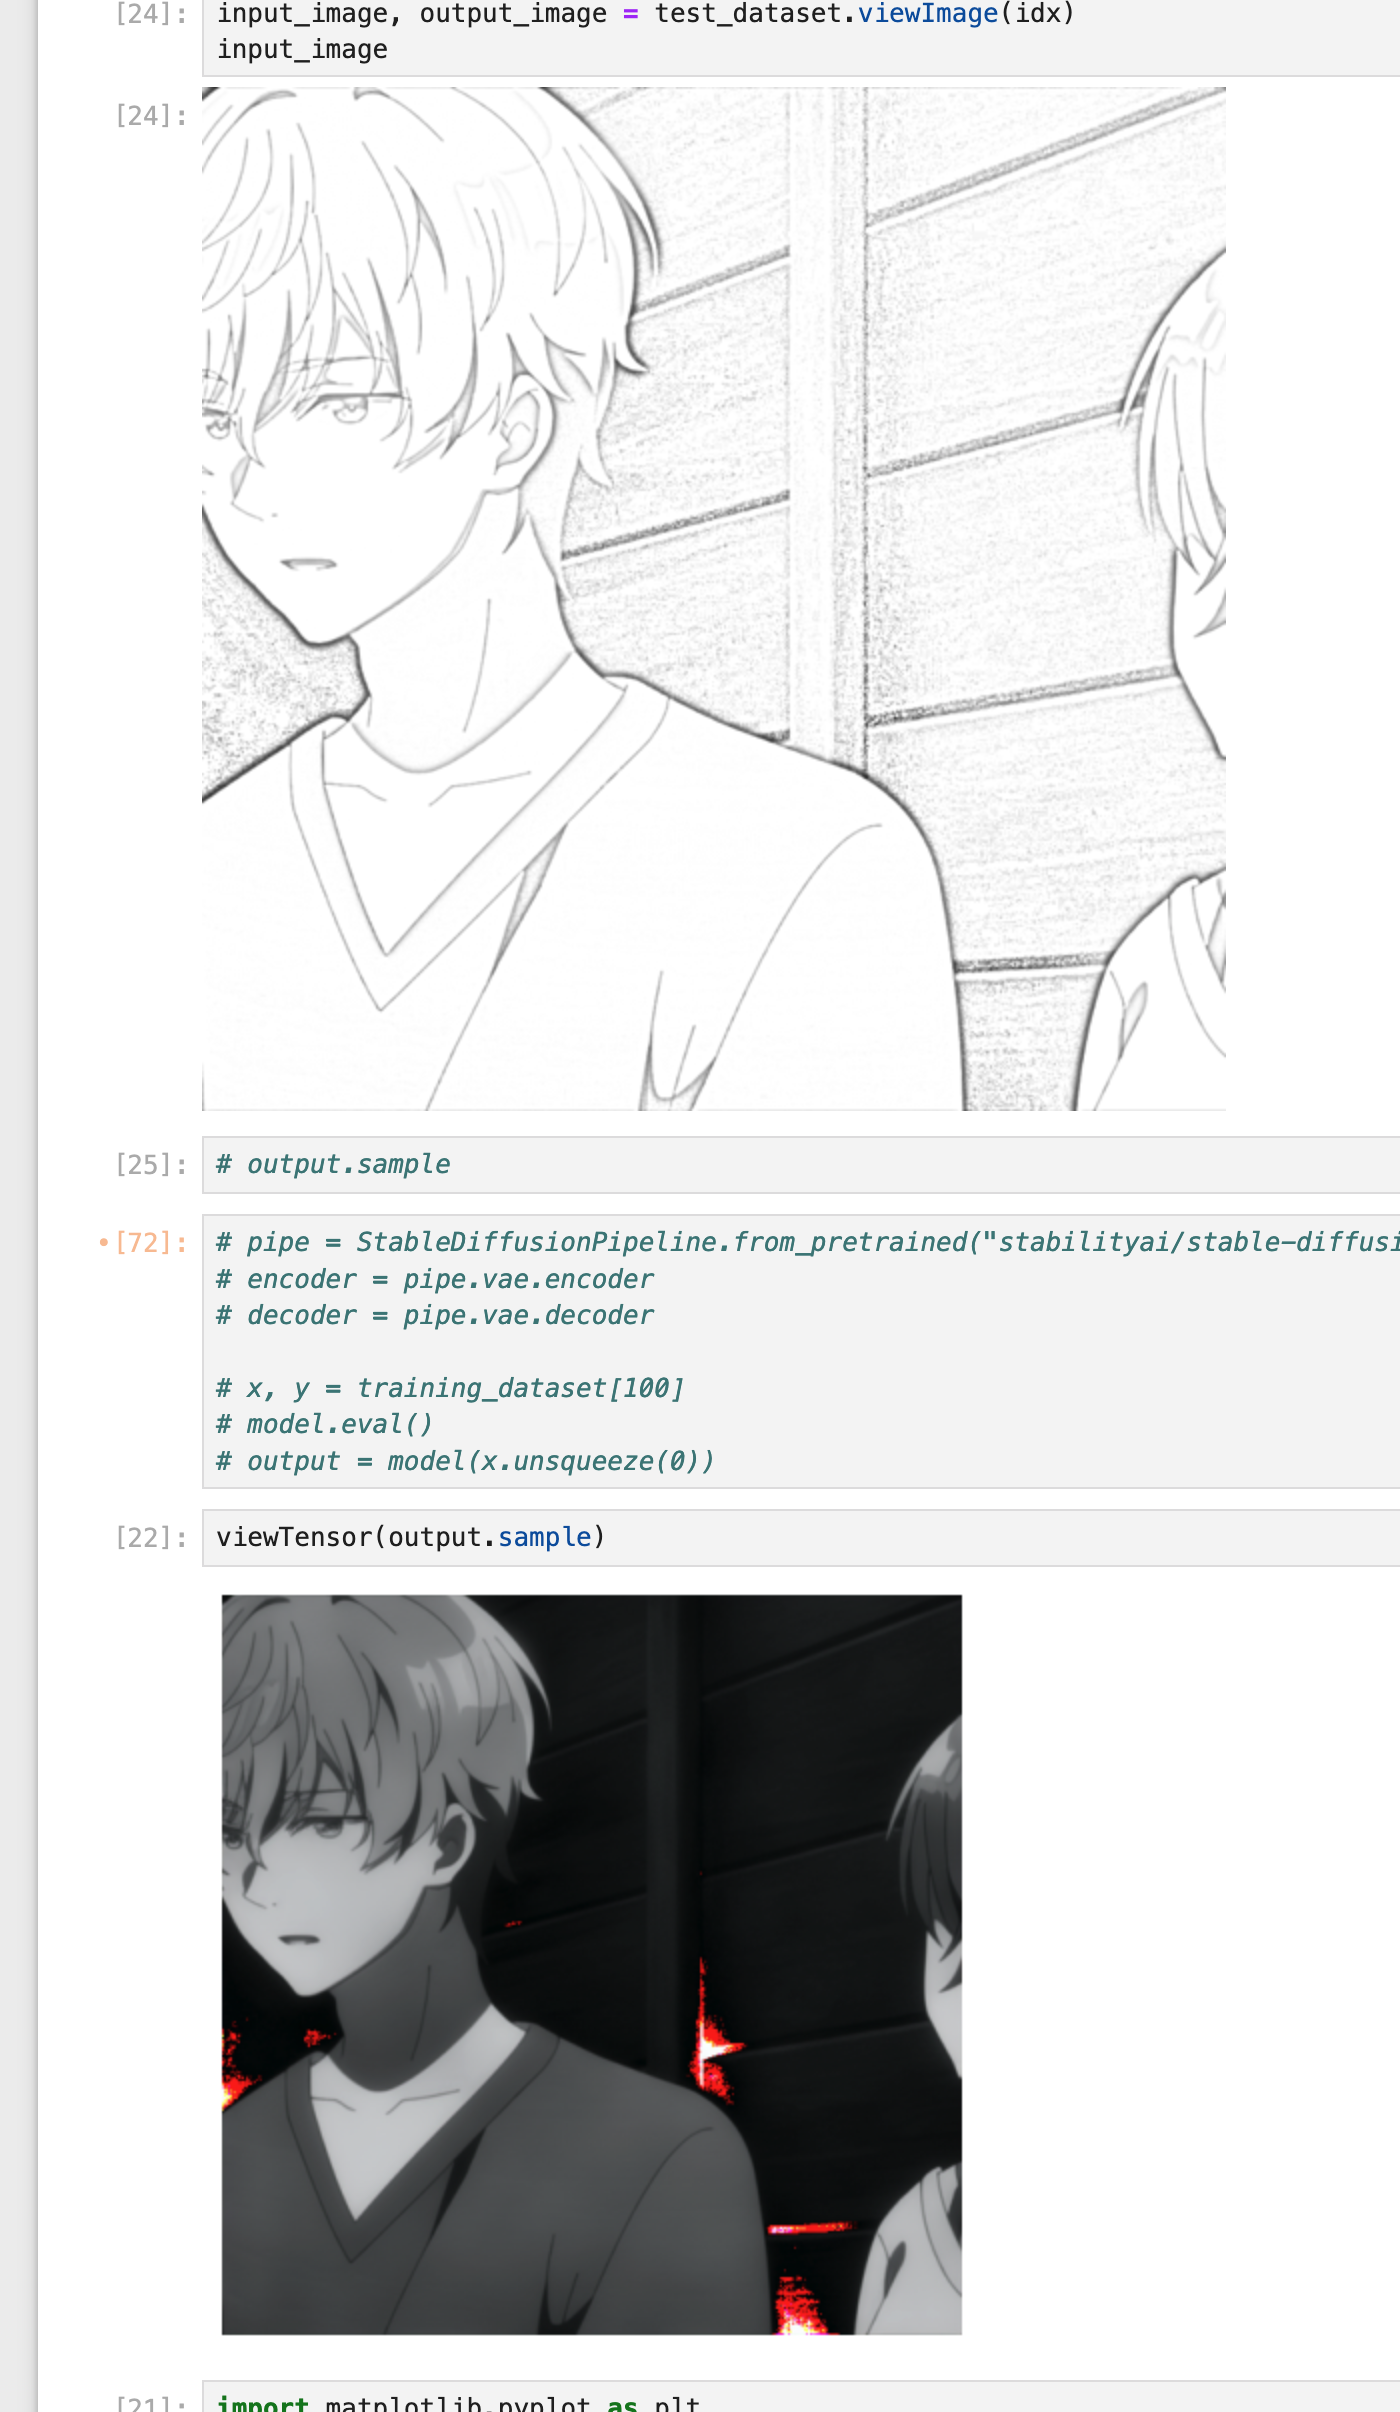
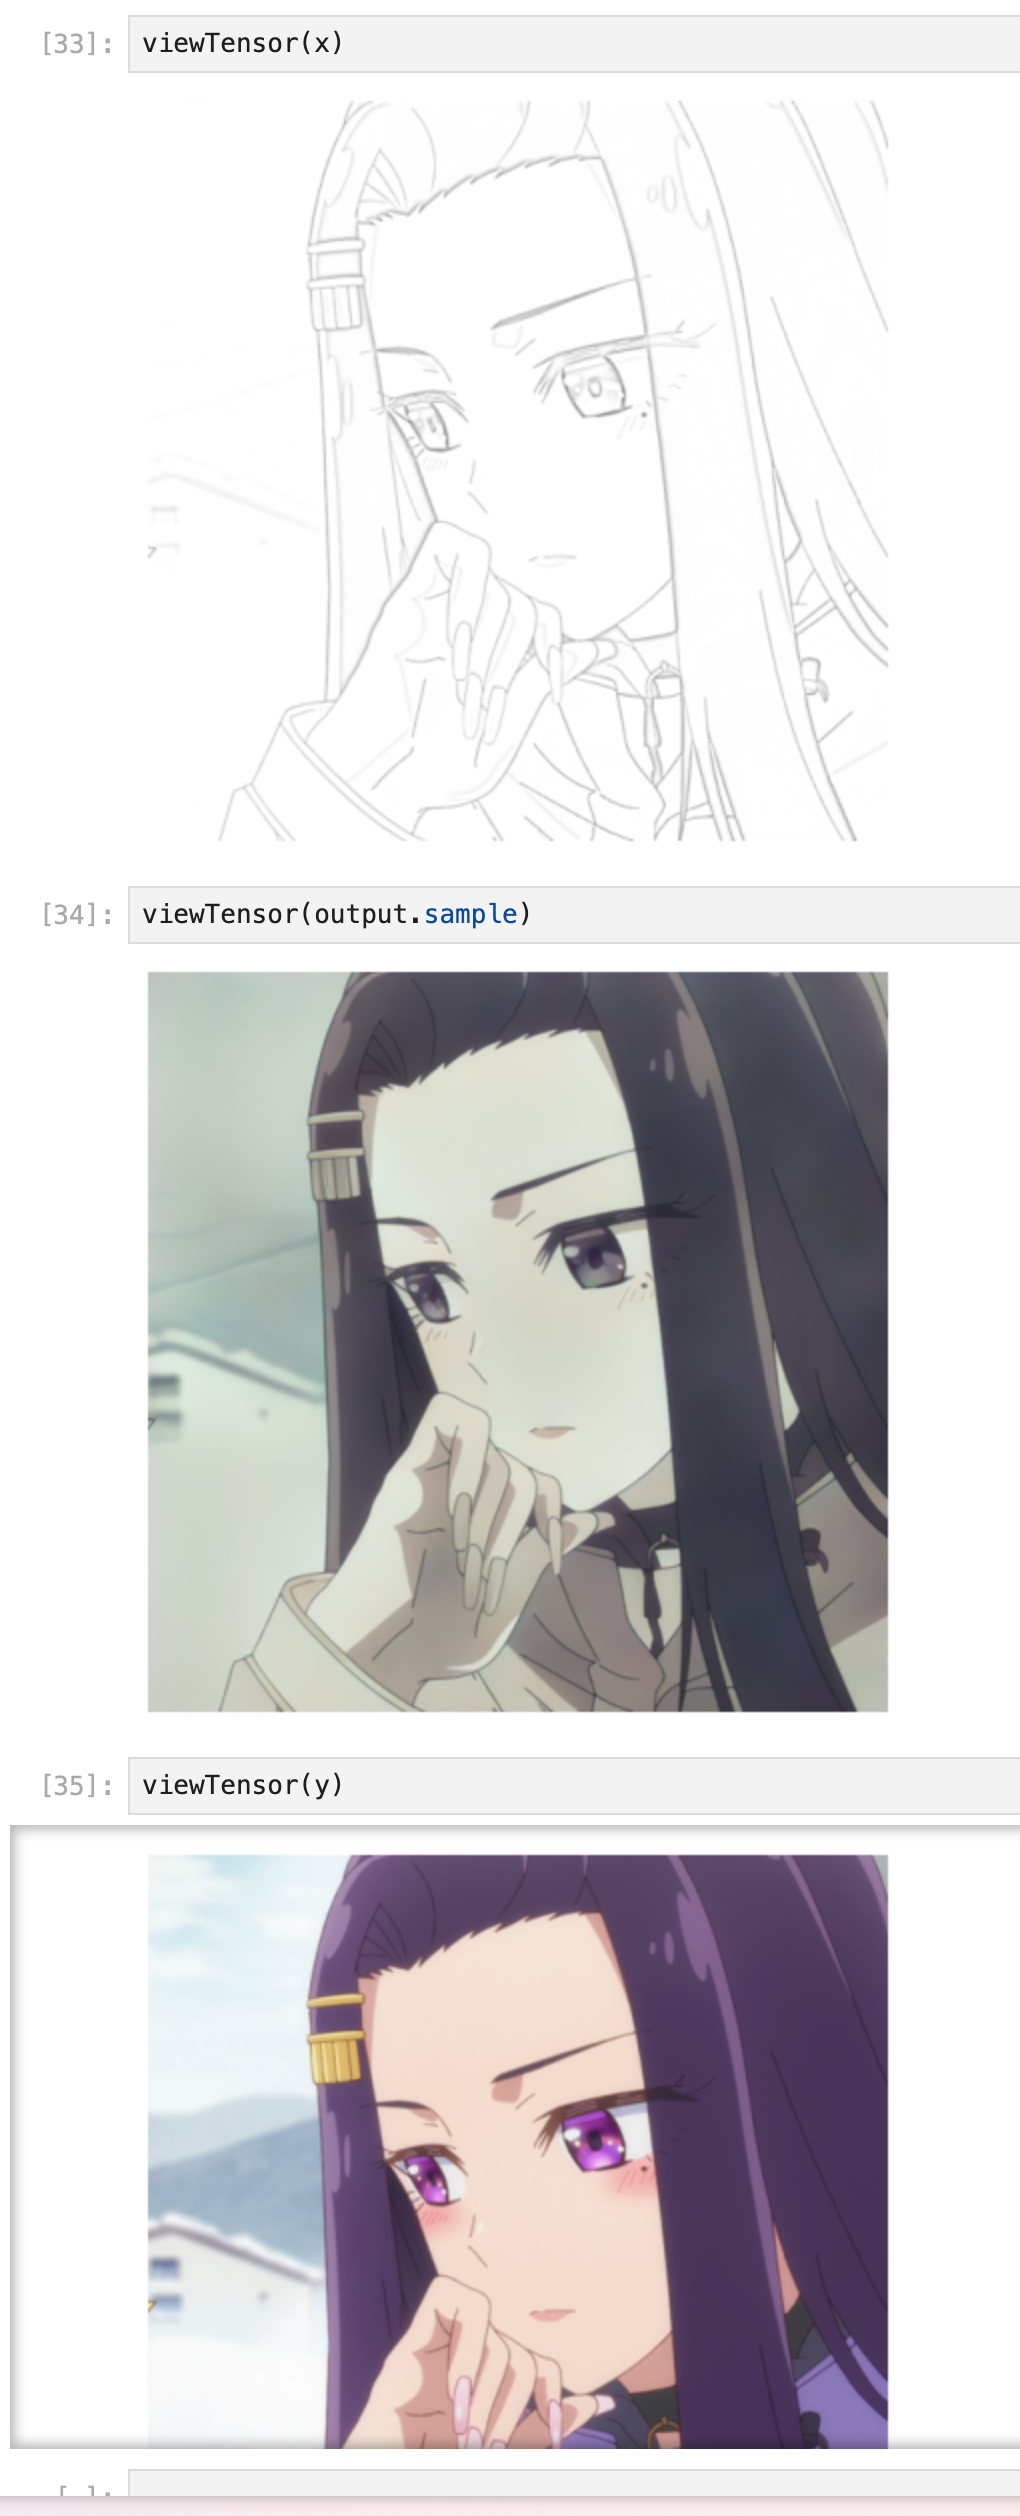
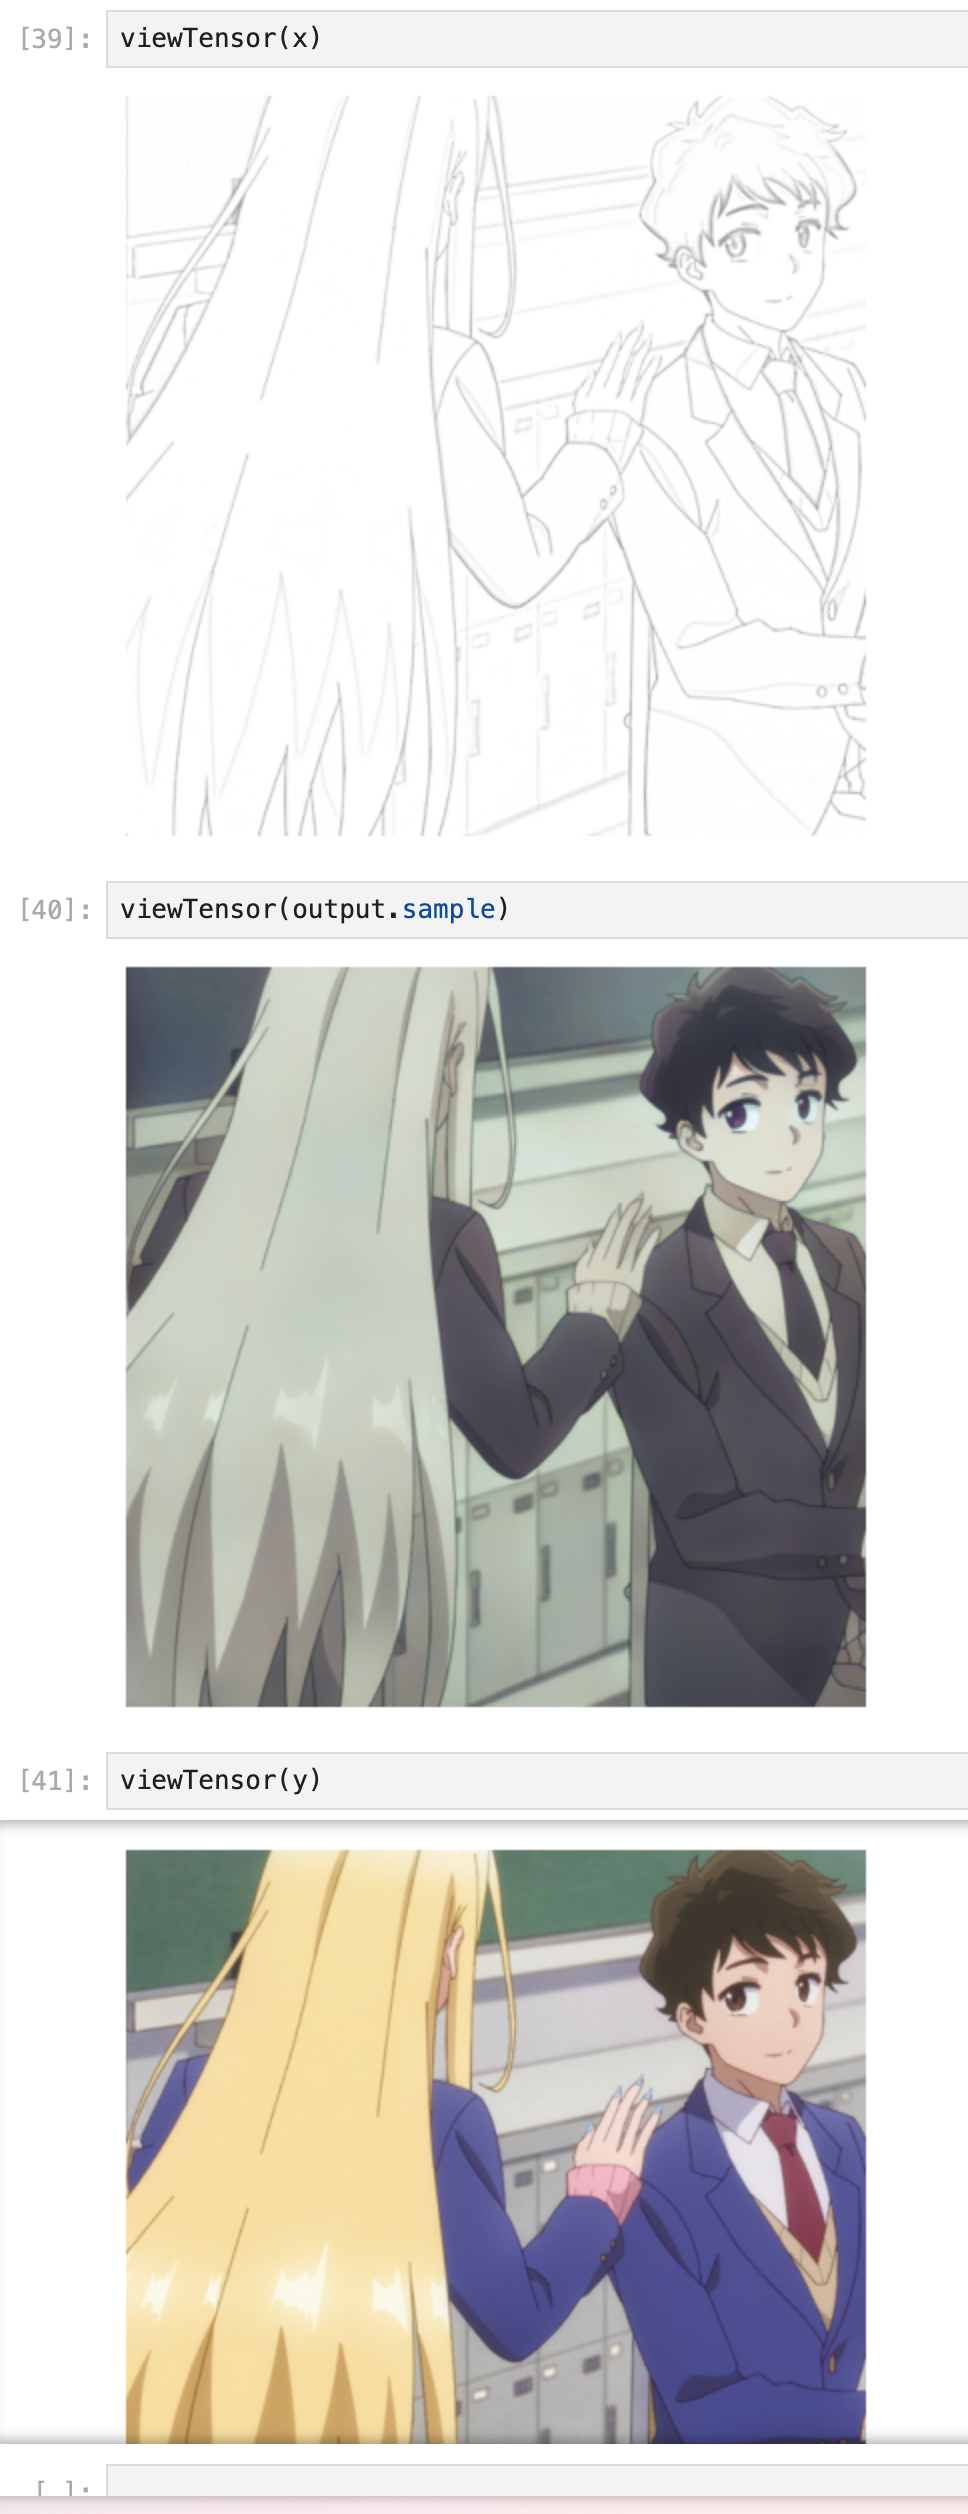
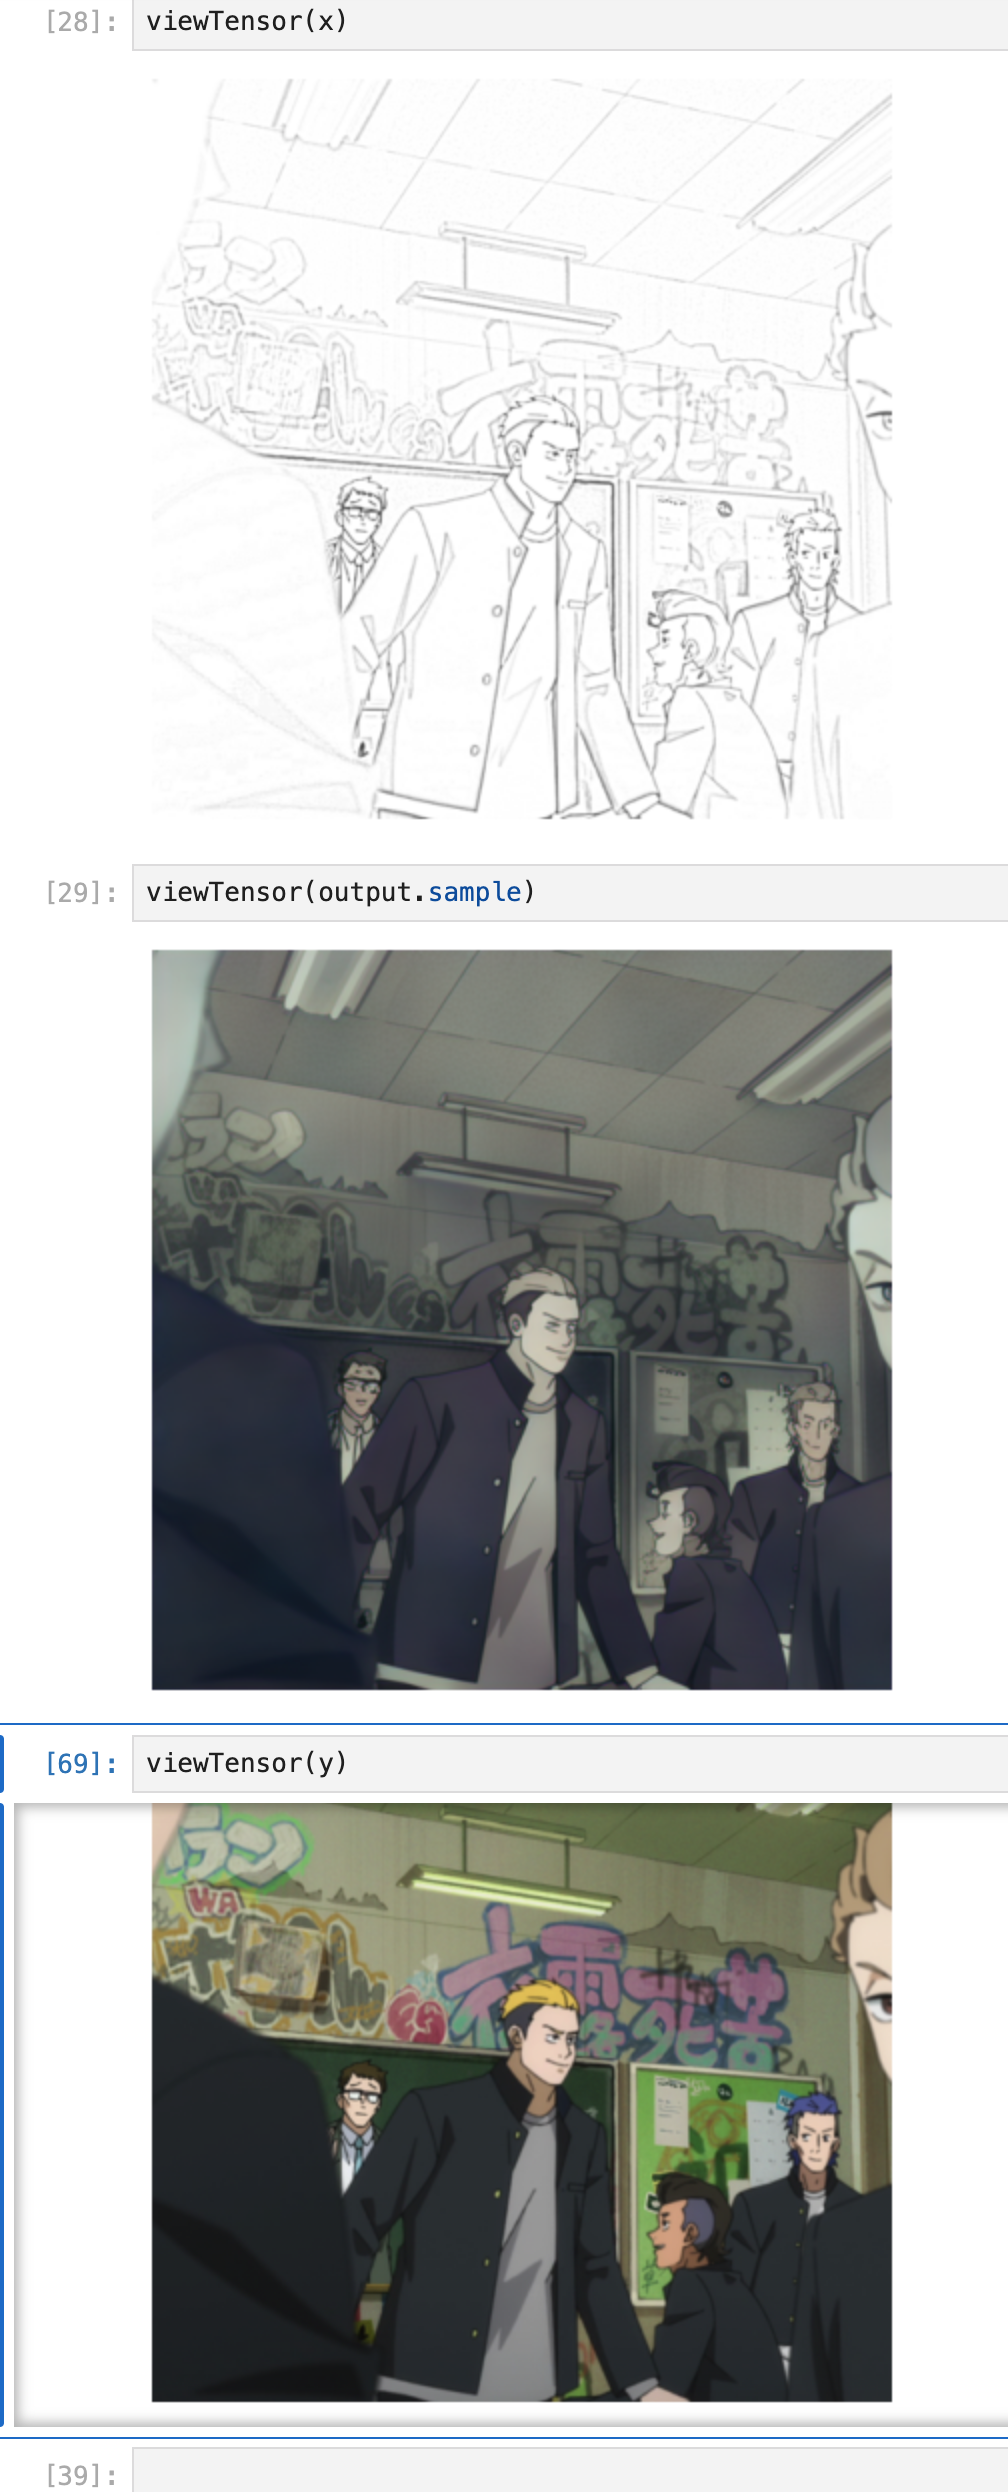
However, the image appeared mostly black and white—I’d accidentally converted the colorized image to grayscale in the training data, causing the model to generate grayscale details from sketches. After fixing this bug in the data loader, the model began to generate colorized images. Though not yet vibrant, it started recognizing clothing and colors.
I’m actually much further ahead than on this but since the post is already long enough I wanted to break it in to multiple parts. Stay tuned for the next one!